After the first activation theme, your site will look like on picture leftward. To create and activate your new menu follow the steps below:
- Step 1 – Log in to that site as an administrator.
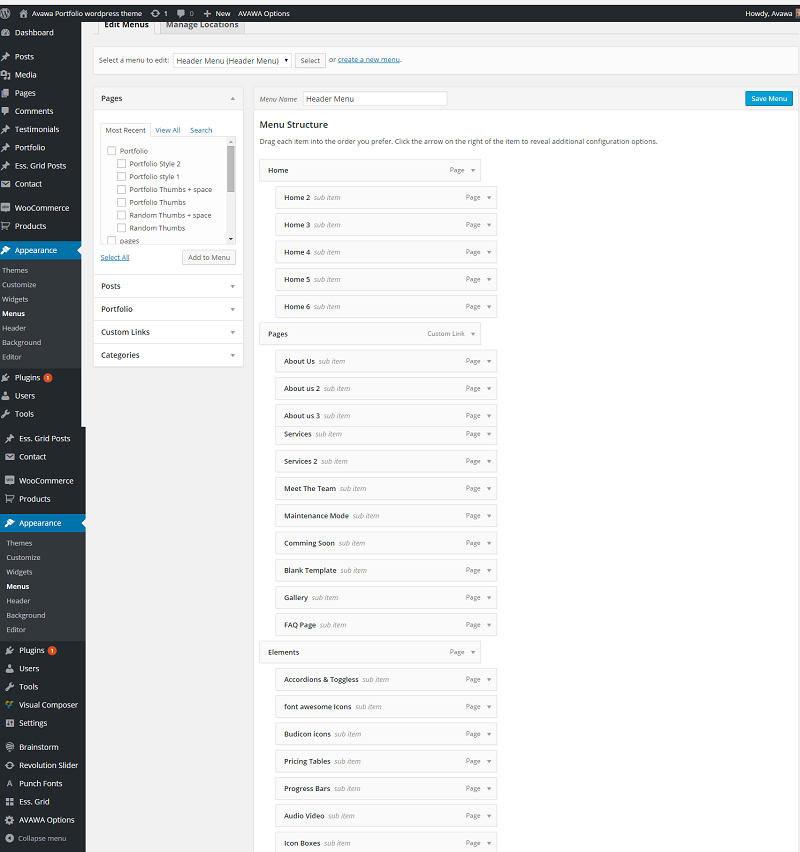
- Step 2 – Go to Appearance -> Menus panel.
- Step 3 – Give your menu a name and click “Create Menu” button
- Step 4 – Add a few simple links form the “Links” tab.
- Step 5 – Save your menu.
- Step 6 – Navigate to “Manage Locations” tab (at the top of the screen).
- Step 7 – Choose your new menu as “Main Navigation”.
- Step 8 – Save changes.
Want to use one-page nav?
- Step 1 – Set your CSS ID from elementor
- Step 2 – Go to Appearance -> Menus panel.
- Step 3 – Add custom links and it’s URL fields add the URL like – #your-css-id
if you want to navigate this link into other pages then add URL like – https://your-site.com/#your-css-id - Step 4 – Save your menu.
In here we make a short video about it –
Leave A Comment?